6 minutes
Learning SwiftUI by Building a Slack-like Emoji Picker
I started learning SwiftUI around August 2020 first with Apple’s SwiftUI Tutorials. The tutorials were really fun and got me excited with using SwiftUI. I then continued with Paul Hudson’s series 100 Days of SwiftUI. Around the end of series, I could not hesitate any longer so I started a new Xcode project and build one of the things I like most about Slack app: the emoji picker!
The point of the Happy Panel project was to learn SwiftUI and make use of its declarative syntax to build a complicated control with gestures and animations in a few lines of code. Because the biggest motivation for me to learn something new is to be able to make something beautiful and performant.
Below is how I tried to solve the problem - more like a note on what I learned.
Starting out with the smallest components first
- Search bar: essentially a text field with grey background color and search icon on the left. Search button should show up when the field is focused and disappear otherwise.
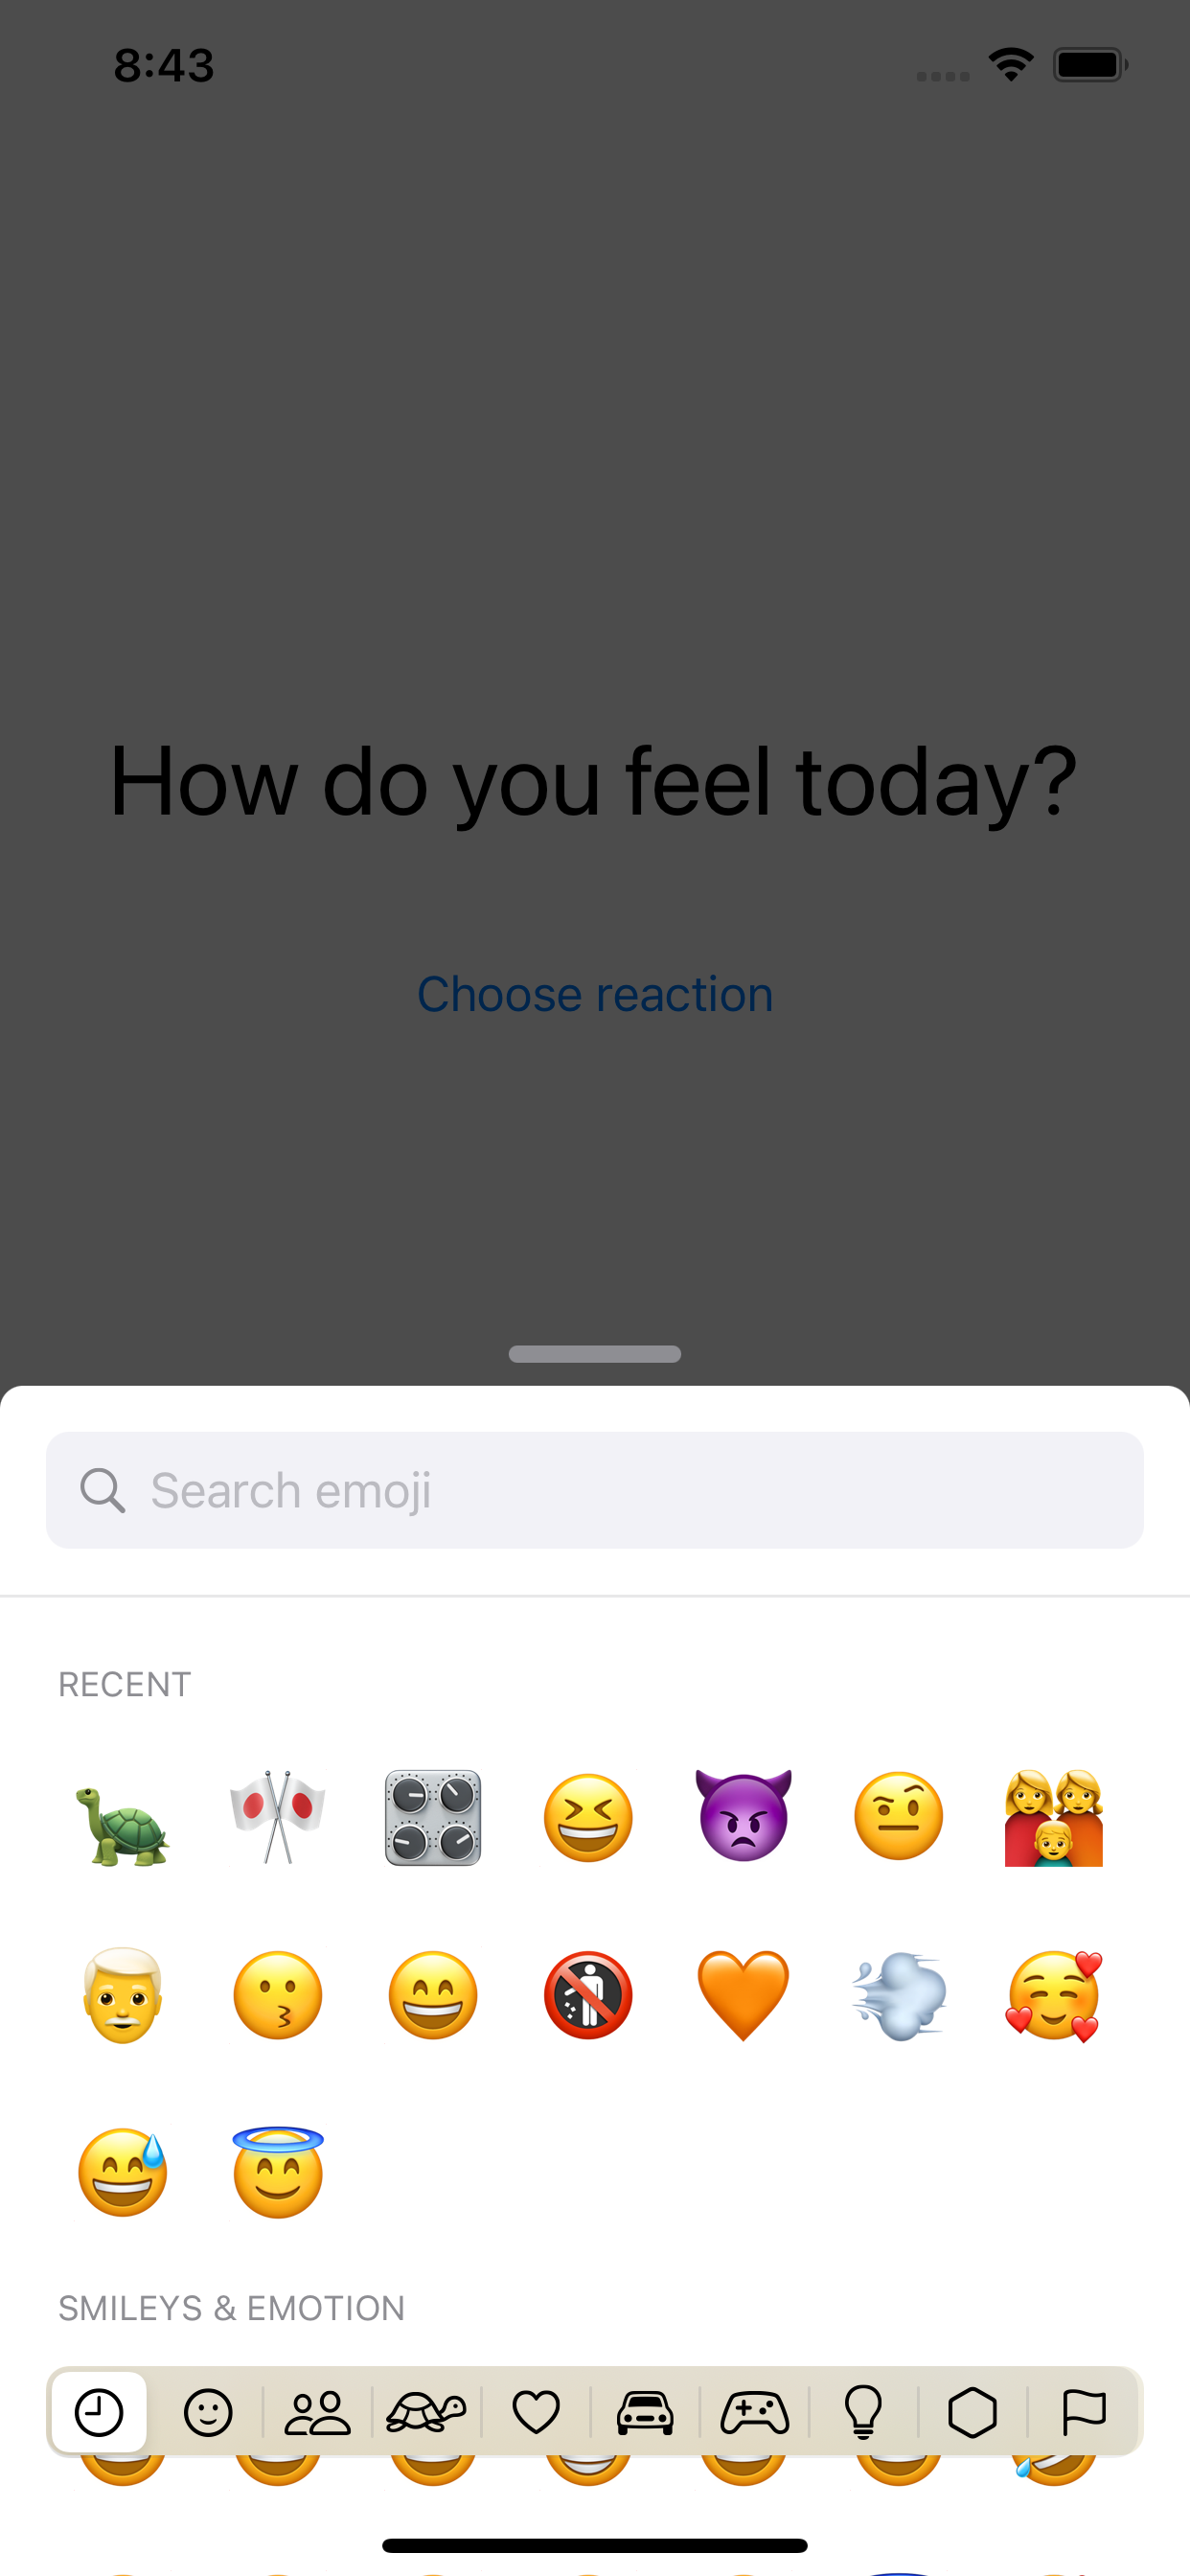
- Emoji grid: a grid of buttons that returns the content to its parent when tapped. The grid can be built with a combination of VStack and HStack (which requires a 2-dimensional array), but SwiftUI 2 provides grid which is super helpful so I used LazyVGrid instead. This is a toy project, I don’t care about users using iOS 13 anyway.
- List with section headers containing the emoji grid. The cool thing about SwiftUI is that a lot of UI components are supported natively without much needed code and here’s one of them: a
Listwrapping around aSectionwith header will give you a table view with sticky headers. This is way too convenient comparing to how I’d have had to implement the same thing with UIKit. - Search result rows for filtered emojis.
- Search result list.
- Main content view: containing all the above components.
- Section title picker to navigate between sections. I want this to float above the main content view so it’s not contained in the main content view.
- Main panel: containing a dimmed background, the main content view and the section title picker.
Navigating between sections
With the help of ScrollViewReader and ScrollViewProxy, navigating to a desired section of a list is so easy with a simple scrollTo(_ id:) function. The problem is I had to learn how to use it the hard way with very much frustration involved.
The magic of ScrollViewProxy is that it scans through the children to find the view with the id that you send it. It’s as simple as that, but at first I tried to call the scroll function on the List, which crashes the app since my List doesn’t immediately contain the view that I was looking for, but has it embeded inside a child ForEach. Moving the call downward to the child was the solution that took me almost a whole day.
There’s a feature that I have yet to implement. It is expected that when the emoji grid is scrolled the section picker updates its selected segment accordingly. As far as I know this is natively impossible since SwiftUI List doesn’t offer a way to read the current offset but if it does some day, I think I can compare the offset with the pre-calculated frame of each section. This is still fugly, and also when I can determine the current visible section and update the currentCategory environment variable, it would cause a circular reference since the picker itself is listening on any change of this variable to scroll to the correct section. So is there a better solution?
Moving the main panel with drag gesture
Updating the main panel offset with drag gesture isn’t the hardest part to begin with. I keep the 2 variables - one for the calculated offset and one for the last offset when the dragging gesture ends, which is used for calculated the first variable. Then I have some magic code to magnetize the panel to the top or close the panel based on where the gesture ends.
A problem I noticed was that if I move the main content view’s code to main panel, the dragging performance suffers. I keep the same code and move it to a separate file, the dragging gets as smooth as it can ever get. This remains a mystery to me.
There’s a challenge here though. Slack utilizes the drag gesture on the emoji grid view very well, when the panel is in half mode you can’t scroll the grid but instead can only drag the panel. I tried to mimick this behavior but there’s no native way to do intervene the scrolling behavior of the List. So I just leave it there and wait to see when SwiftUI provides such feature, if ever.
@EnvironmentObject
Originally I used a lot of @State and @Binding to send some states back and forth between children and parent views. I then decided to clean the mess up by using @EnvironmentObject so that all children and parents can have access to the same states of the view. This causes me to think if this is the intended behavior of the property wrapper itself - if it makes the state globablly available to all the listeners to both read and write, would it be safe? Like I may have some code in a view that has nothing to do with search keyword but alter the variable and the control will break. If SwiftUI’s main purpose is to maintain states in a clean way then my usage of @EnvironmentObject is totally against the rule.
An open ending (updated in July 2021)
I left the project with an open ending due to several challenges:
I have yet to handle List to behave properly to pan gesture. You can see some performance hitch when dragging the panel back and forth. In WWDC21 Apple introduced UISheetPresentationController - however this is not available natively on SwiftUI. It is possible to use wrapper though, as per Donny Wal’s article. I will need to look at that and see how I can improve the panel for iOS 15+.
As mentioned earlier, section picker needs to be updated when scrolling to respective sections. I have found a solution for this in a Mac app (more on that right below) - but the solution is not feasible on the floating panel due to the complication of gesture recognizers.
On a flip side, I started a menu bar app on MacOS and it was actually really fun since Mac app development is all new to me. I will note my learning on a separate post, so please stay tuned!
Until next time! 👋